Saturday, January 21, 2017

Storage Bins

After spending more money than I was hoping to on Sofia's new room I wanted to save as much as possible on the finishing touches.  I needed storage boxes to fit into the shelves we're using to store Sofi Sue's clothing.  I decided to make them myself with the large amount of scrap fabric I have hanging around my craft room and some cardboard that was otherwise headed for the recycling.  First I cut out a million 11 1/2" by 11 1/2" squares of fabric.  It might have been somewhat less than that, but who's really counting?  I used a square of cardboard as my pattern and traced it on the wrong side of the fabric with a sharpie.


Then, after cutting the squares out I sewed three together in a row.


After that I sewed two more on either side so my fabric looks like a plus sign.


Then sew each of the outer squares to its neighbor and you have a very floppy box.  Do the whole thing twice and you have a box and a lining.  In order to make the box stiff I then cut out another million squares, this time out of cardboard.  I made each of these about an inch smaller than the fabric pieces, so about 10 1/2" by 10 1/2".  Place one cardboard square into the bottom of your outer box.


Then put your lining, inside out, into the outer box.


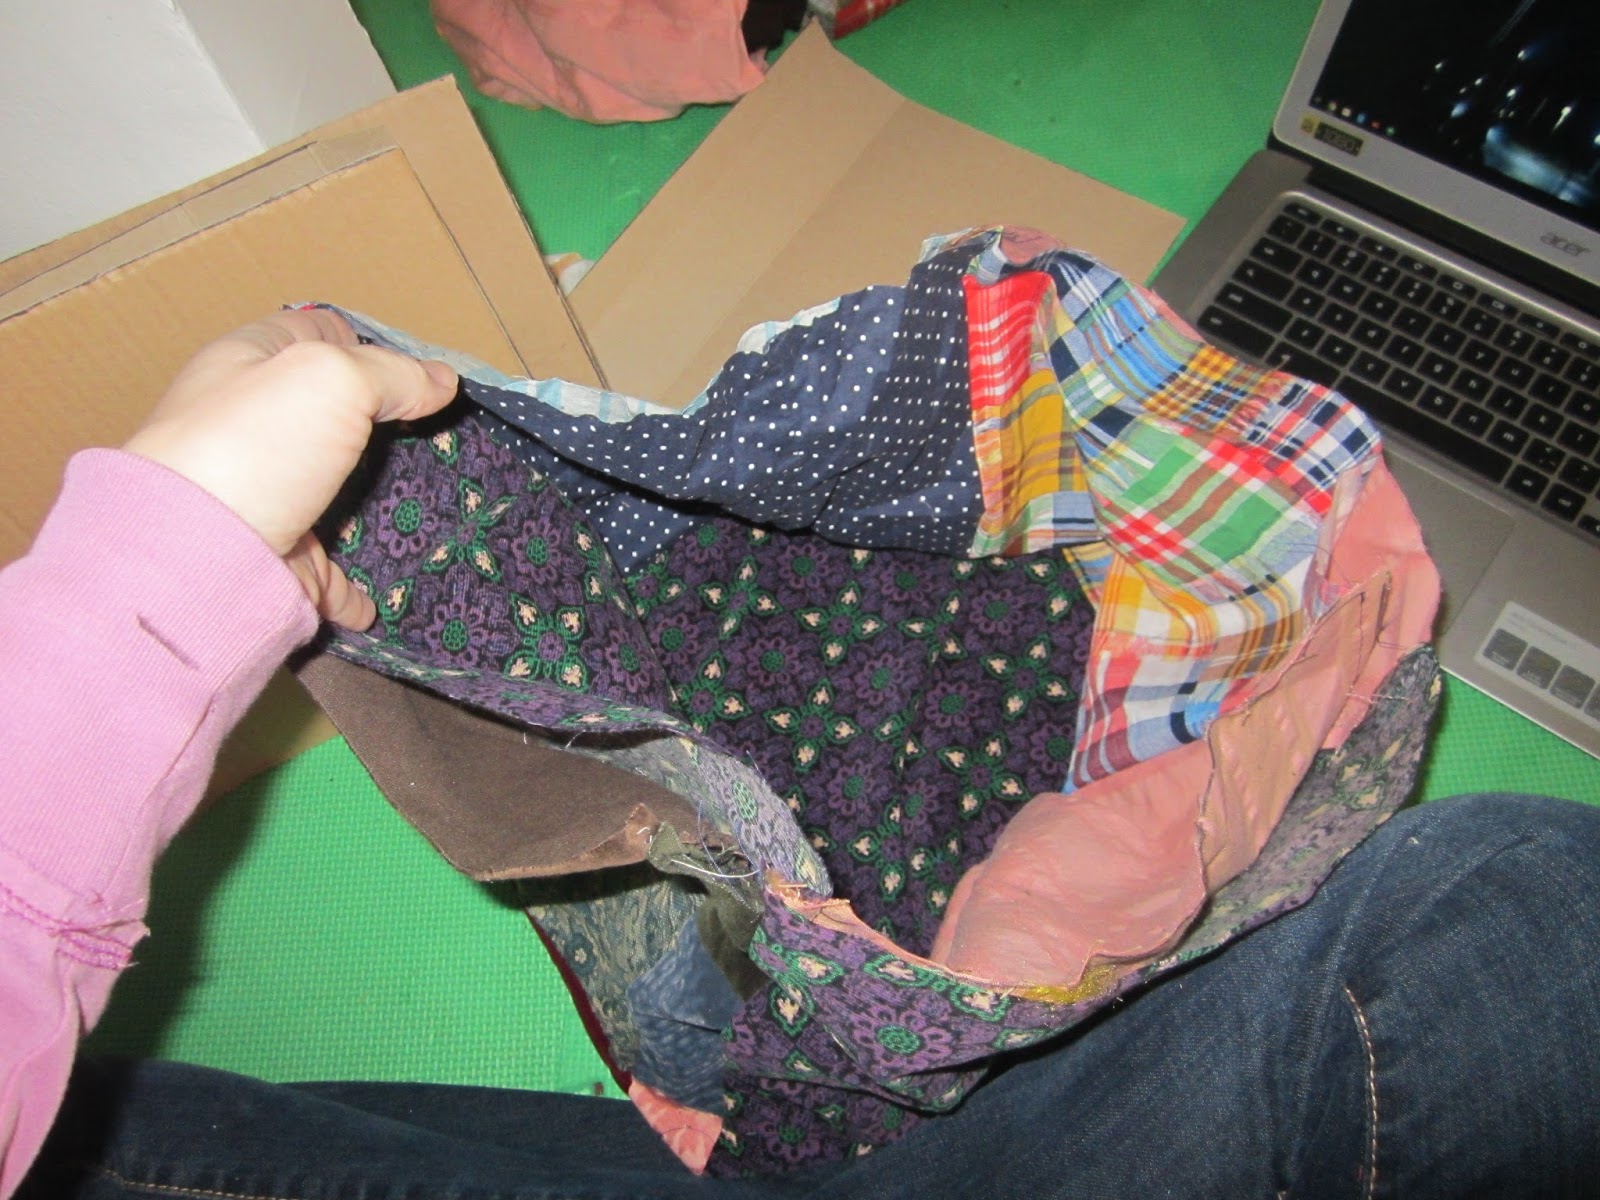
Now slide a square of cardboard into all four sides of your box between the lining and the outer fabric.


Fold the outer and inner box fabric towards the cardboard, pin and sew it closed.


You can see that the box is no longer floppy, but the fabric is still a little too loose, so I used a needle and thread to sew a couple of knots through both layers of fabric in all four corners.


The boxes aren't perfect, but they hold clothes and fit perfectly in Sofia's shelves.  Here's the first one in:


See how the clothing in the shelves without bins are spilling all over the floor?  Look how much better it looks when all of the clothing is in a bin:


The best part of these bins, each side is a different fabric, so you can change the look just by spinning the boxes around.


And each box also has one side that is the same fabric, Sofia's favorite patchwork fabric:


Now, maybe, Sofia will keep all of her clothing put away!  Yay free bins!

Tuesday, January 10, 2017

Under Bed Curtain

When planning Sofia's room I decided it would be nice to have a curtain to section off the area underneath the loft.  This way we can hide any mess Sofia makes under there.  I also thought it would be a fun little area to play where you can close yourself off, almost like a fort.  So I took a white sheet and cut it to size.  I only had to hem the bottom because the other three sides were already finished.  Then I prepared a space in the basement to decorate the curtain.  First I protected the floor with painters paper.  Then I taped the curtain down flat so that I could draw on it with permanent markers.


I wanted to draw an easy forest scene so I copied some birch tree wallpaper and a fox that I had seen online. I drew the outlines of trees


 and then added the details.


After that I used acrylic paint and watered it down a lot.


I got this method from Filth Wizardry.  I painted the sky between the trees, leaving the trees the white of the sheet.  I used red and brown for the fox.


Notice how I did not draw in a body for the fox.  I made a practice picture on the part of the sheet I cut off, just to make sure that this was going to work.  My fox body was pretty sad, and the fox legs and feet were just horrendous.


So, now the fox is hiding behind a tree.  Problem solved!

There is one thing to note about this method of painting.  Since the paint is watered down the end result is that the paint bleeds.  So if you paint up close to the edge of a tree with blue and don't go over the edge, after a couple of minutes the paint will bleed over the edge.


I actually don't mind this, I think it makes the whole thing look like watercolors.  It's very pretty.
 What I love about this method of painting on fabric is that it is cheap and it leaves the fabric soft.

After the curtain dried I threw it into the dryer on high heat to hopefully set the paint.  Then I attached it to Sofi Sue's loft.  I had already purchased a tension rod from Ikea along with curtain clips.

Sorry for the blurry photo!

 I just clipped the curtain up and it was done.  I'm pretty happy with how it turned out and Sofia gave me glowing praise, although delivered very tepidly after I asked if she liked the curtain.  She told me she didn't like it, she loved it.  I'll take that.